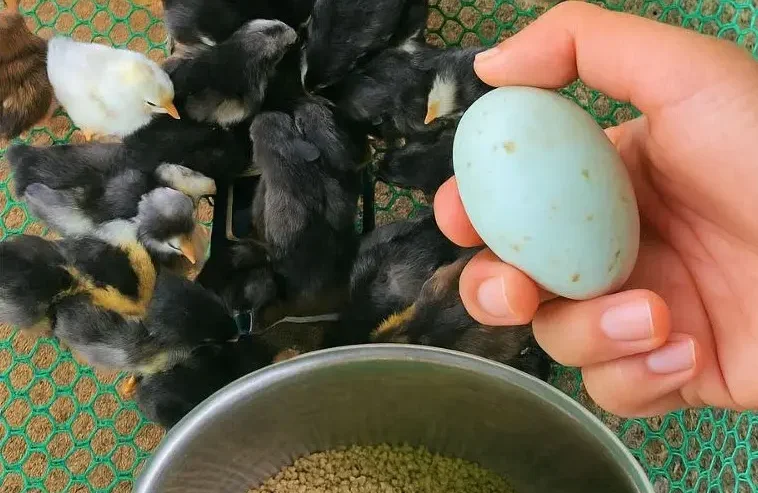
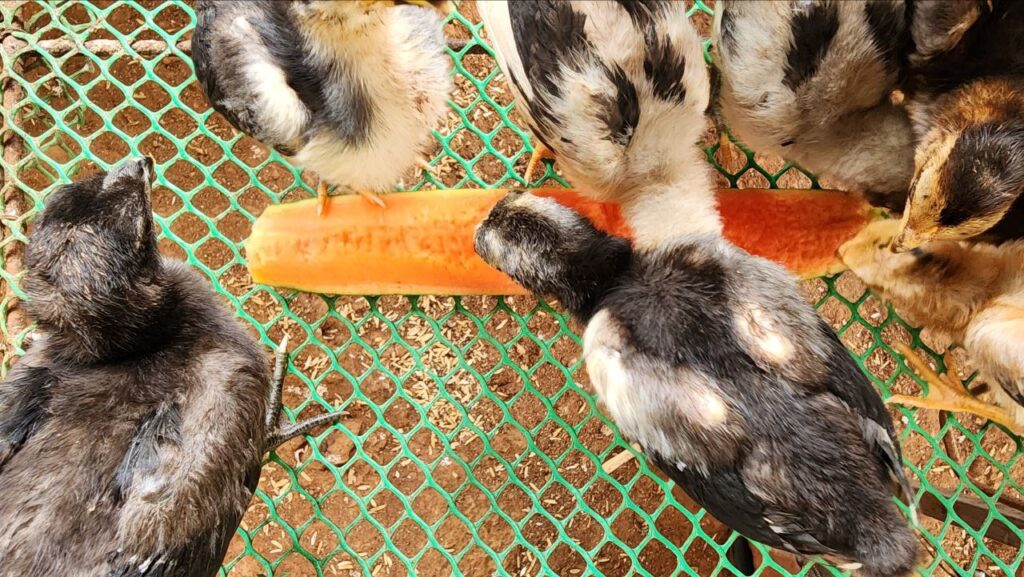
Raising healthy chicks starts with consistent warmth. In this guide, you’ll learn how to wire and program the STC-1000 digital temperature controller to power your brooder’s heater automatically. This simple setup uses only the heating relay function, no cooling required.
Why Use the STC-1000?
The STC-1000 is a versatile, affordable temperature controller widely used in poultry, fermentation, aquariums, and greenhouses. For brooding chicks, it automates heat delivery — keeping temperatures stable without manual checking.
What You’ll Need
STC-1000 temperature controller
Heat lamp or boiler
NTC sensor (comes with STC-1000)
Short electric wires (4 pcs, about 2cm each)
Electrical plug (AC 110V–220V)
Electrical tape (black)
Screwdriver
Step-by-Step Wiring (AgriBuzz Method)
We simplify your connection using a short 4-wire loop method:
1. Prepare wires:
Cut 4 short jumper wires (around 2 cm).
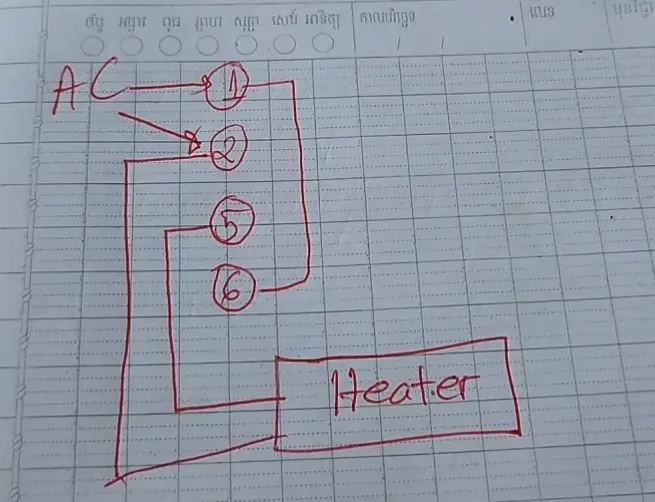
2. Connect AC to Terminals 1 & 2:
Terminal 1 = AC Live
Terminal 2 = AC Neutral
3. Bridge Terminal 1 to Terminal 6 (relay power) 4. Bridge Terminal 2 to one side of the heater 5. Connect Terminal 5 to the other side of the heater
6. Use electrical tape to insulate all wire joins. This ensures safety and avoids short circuits.
7. Insert sensor wires into Terminals 3 and 4. Place the sensor inside the brooder at chick height.
See diagram below for clarity:
Programming the STC-1000
Hold “S” button for 3 seconds to enter setup mode.
Use arrows to navigate:
F1: Set target temperature (e.g. 35°C for chicks)
F2: Set difference value (e.g. 1°C)
F3, F4: Leave default or consult manual.
Chick Temperature Guide
| Chick Age | Recommended Temp |
|---|---|
| 0–3 days | 35°C |
| 4–7 days | 33°C |
| 8–14 days | 31°C |
| 15–21 days | 29°C |
| 22+ days | 28°C |
Reduce temperature by 2°C per week using the F1 setting.
Safety Tips
Always use ceramic heat bulbs for safety and durability
Do not place the sensor directly under the heat lamp
Keep STC-1000 device mounted outside the brooder
Use black electrical tape on all joins to prevent shock
Get the Tools You Need
We’ve linked the exact parts used in this guide:
🛒 Recommended Products (Amazon Affiliate Links):
STC-1000 Controller: https://amzn.to/4ngaElf
Ceramic Heat Bulb: https://amzn.to/46chUbs
Digital Thermometer + Hygrometer:https://amzn.to/4nlE1T3
Chick Brooder Kit: https://amzn.to/3ZRw4ed
As an Amazon affiliate, Agri Buzz earns a small commission if you buy using these links — at no extra cost to you.
Final Thoughts
This STC-1000 setup helps automate and stabilize brooder temperature, giving your chicks the healthy start they deserve. For more guides like this, subscribe to AgriBuzz on YouTube and follow us on social media.
Download the printable setup PDF here: STC-1000 Chick Brooder Guide PDF